15% of the social media users in the US use Facebook to shop, making it the second social network after Pinterest where they shop the most. This means the onus is on you to make buyers’ shopping experience as seamless as possible, which brings us to Facebook Shops.
This is the latest Facebook update and, by far, the biggest jump into ecommerce after Facebook Marketplace and Shop Pages.
Shops catalogs your products in collections, allowing interested customers to browse, save, share, and even buy your products within the app.
Wondering how to set up a Facebook shop?
Let’s walk you through the benefits Shops offers, what you need to create a shop, and how to set it up.
Here we go.
Bonus: Download a free guide that teaches you how to turn Facebook traffic into sales in four simple steps using Hootsuite.
What is a Facebook Shop page?
It can be easy to get confused between a Facebook Shop page and Facebook Shop owing to their names.
But, it’s simple:hop pages are predecessors to Shops. Facebook has announced shop pages will gradually be converted into Shops and owners will get an email, notification, or both informing them.
What’s more, Facebook Shops gives you the option to offer in-app checkout (currently only available in the US). On the flip side, shop pages direct users to your website for completing their order.
What are the Facebook Shop fees?
While setting up a Facebook store is free of cost, there’s a Facebook shop fee applicable for orders processed using the in-app checkout option. This transaction fee amounts to 5% on every order or a straight cut of USD 0.40 for orders of USD 8.00 or less.
If you’re planning to set up your Facebook Shop right away, here’s some good news for you: Facebook has waived the transaction fees until the end of this year (Dec 31st, 2020).
What are the benefits of a Facebook Shop?
90 million small businesses use Facebook to connect with their target audience for all the benefits that the network offers. With a Facebook store, these benefits are only going to grow.
To begin with, here’s what Shops offers:
-
- A Facebook shop is integrated throughout the Facebook family of apps. This means a user will find the same Shop on Instagram as they would on Facebook. Talk about a memorable impression!
- With the in-app checkout, your buyers won’t need to jump from site to site to place an order, which makes completing an order smooth. Facebook also stores their credit card information, which makes shopping even more seamless.
- The in-app checkout feature also makes it easy for those of you without a website to set up a Facebook online store. And, that too with zero upfront investment.
- Shops are customizable, allowing you to change your Shop’s button color and text size among other styling options.
- There’s no limit to the products you can add to your store. Set them up in collections for easy browsing, improving buyers’ experience.
- Lastly, Shops makes it easy for you to assist your customers with any queries, thanks to the in-app customer support with Messenger, WhatsApp, and Instagram Direct.
In the future, customers will also be able to place orders directly through these chat channels, so there are more benefits to come.
How to create a Facebook Shop
As long as you’re selling physical goods that meet Facebook’s commerce policies, you’re all set to create a shop following the steps below.
For those of you selling digital products, take heart. Facebook is exploring the option to allow you to create a Shop in the future. So, keep your eyes peeled on this Facebook updates page where we curate all the latest features for you.
Facebook Shop requirements
Make sure you check off these requirements from your list before creating your shop:
- Have a commerce account in Commerce Manager.
- Be a Business Manager admin with Manage catalog permissions for your product catalog in Business Manager.
- Have a Facebook Page or have the Manage Page permission for it.
Facebook Shop setup
Your work here starts in the Commerce Manager. If you don’t already have a Commerce Manager account, kick things off by hopping on to facebook.com/commerce_manager/.
Select Create New Account and choose Set up on Commerce Manager (shown below) for making a native Facebook Shop with the in-app checkout.
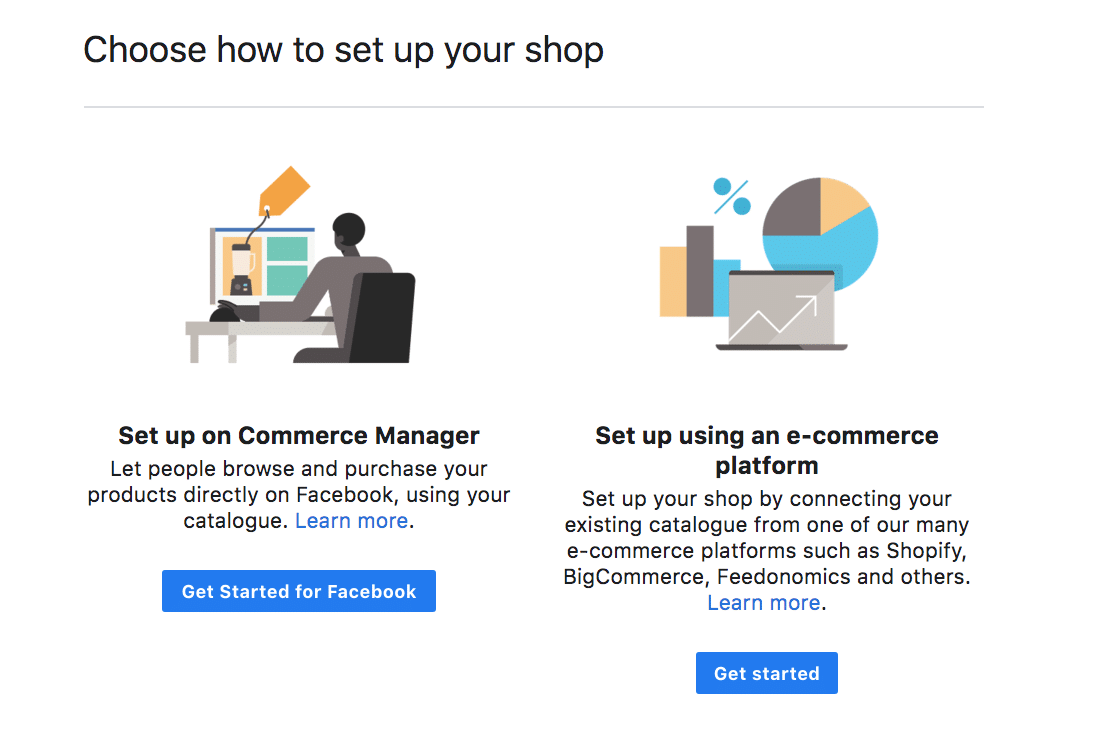
If you have a store on an ecommerce platform like Shopify, you can select the other option for uploading your products and collection through the store. We’ll circle back to this in just a bit. For now, let’s show you how to make a Facebook store natively.
When you select Get Started for Facebook, you’ll be required to fill in 3 categories:
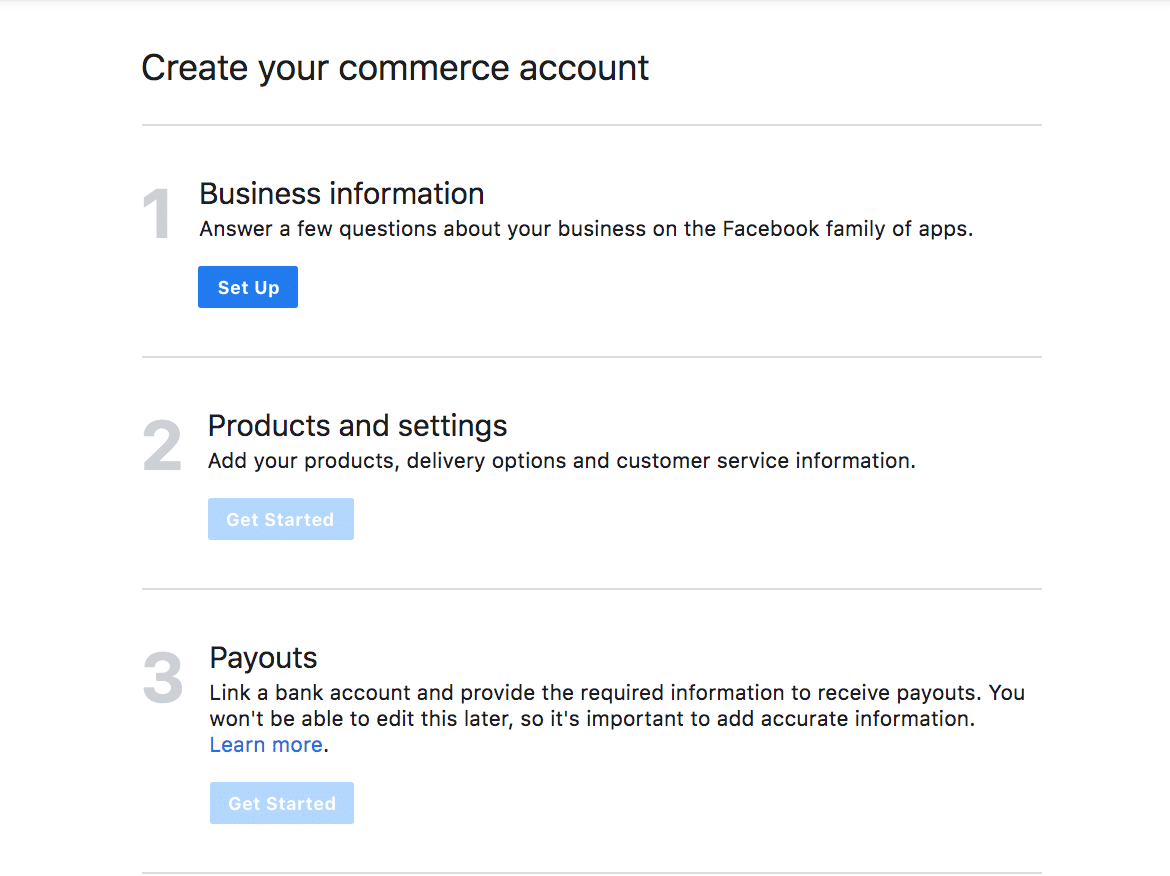
Start with clicking the blue Set Up button for entering your Business information details. Fill in your commerce account name. For the sake of consistency, give your account your business name.
Moving on, connect your Facebook Page. If you have multiple Facebook Pages, select the one you need to create a shop for. Don’t have one? Follow these 7 simple steps to easily create a Facebook Business Page.
Once done, link your Business Manager account and click Finish Setup.
Now, go back to the initial setup screen and fill in details under Products and settings. You can either create a new catalog or upload products from an existing one.
Next, add shipping details in the Set Your Shipping Options section.
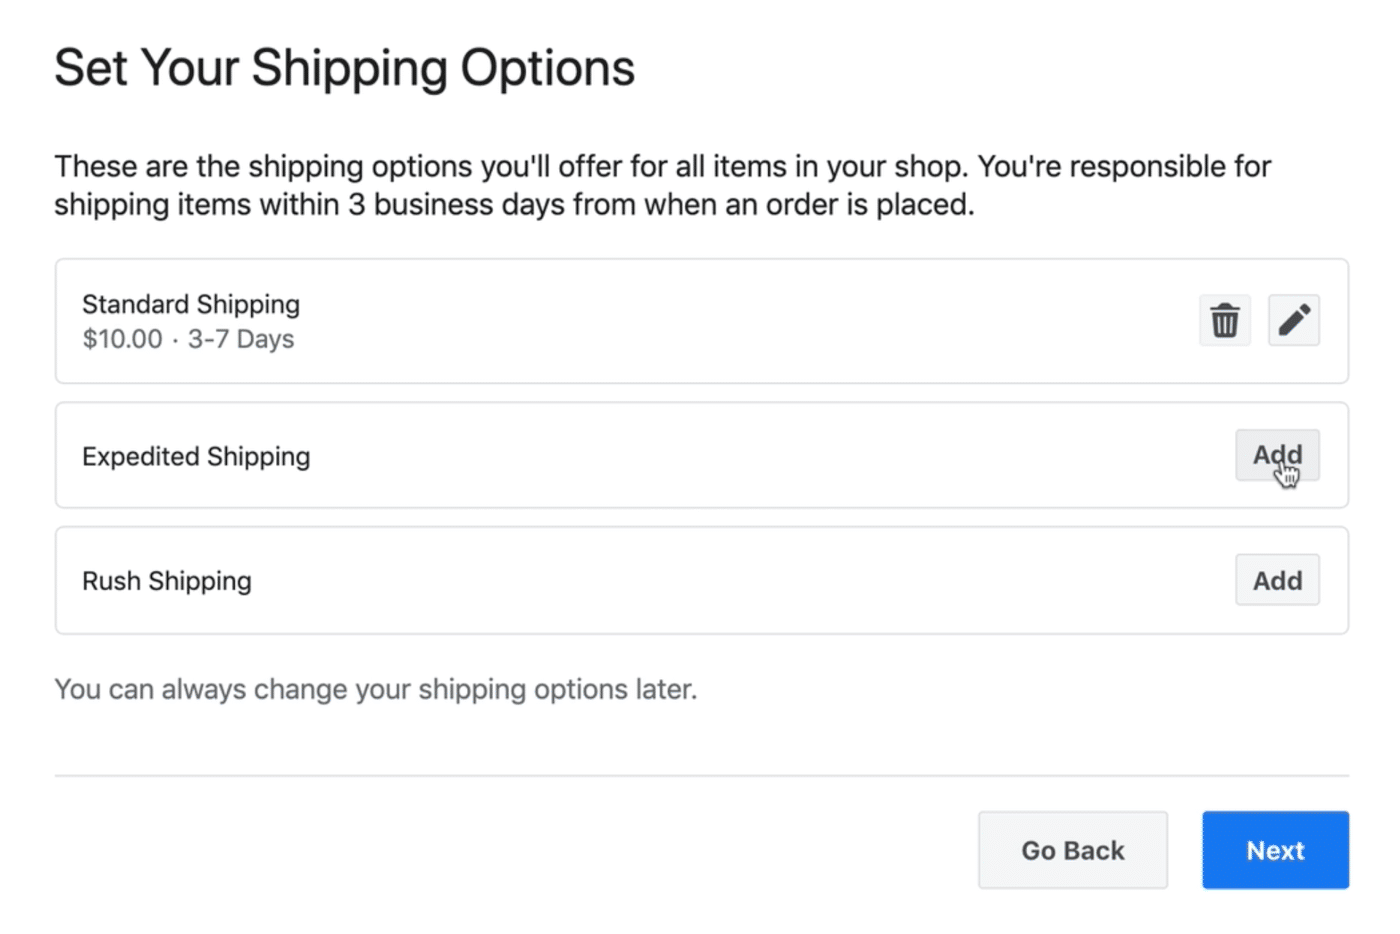
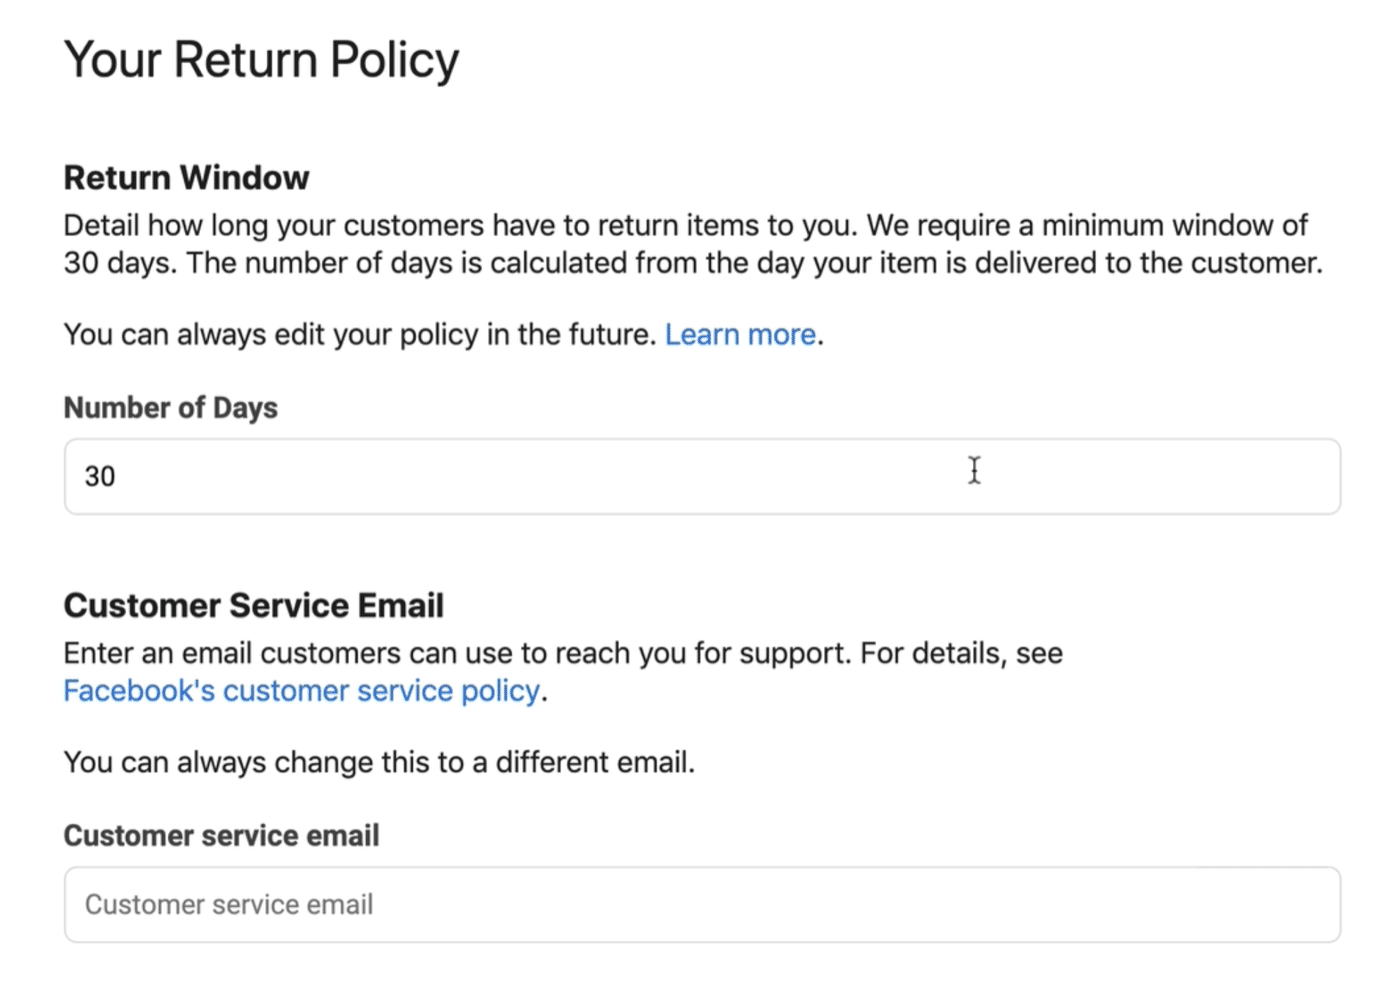
When you’re done, go ahead and click Next. You’ll see another section where you need to fill in order refund details and a customer service email.
When you complete this page, you’re left with one last step – the Payouts section – for completing your Commerce Manager account.
For this final step, go back to the initial screen again and select Get Started under Payouts. Here, enter your bank account details where Facebook can send your payments to you. You’ll also need to fill in other required fields like the state you’re doing business in and tax information.
Ta-da! Your shop is almost ready. Now, onto adding products and styling your storefront.
Adding products to a Facebook Shop
This is fairly simple. You can add products from both your Business Manager account or Shopify account if you have one.Creating Product Collections on your Facebook Shop
To create a collection, click on Collections in your Commerce Manager account and select Create collection. Get to work, adding the following details:
- Name: Give your collection a clear and self-explanatory name within the available 30 characters including emojis. Try to make the name descriptive, so you viewers don’t have to think twice to figure out what’s included.
- Description: Write a description explaining what your collection features within 200 characters like Sephora does. This is optional, so you can skip it. But it helps to give interested customers a clear idea of what a collection is about.

Source: Sephora
- Cover media: Pick a cover image (4:3 ratio with 800 x 600 pixel size) showcasing your product(s) as your collection’s cover. Since a good cover media encourages interested buyers to click, we suggest you add a visually attractive image here. Here’s an inspiring Facebook shop example, Spearmint Baby, using click-worthy cover images:
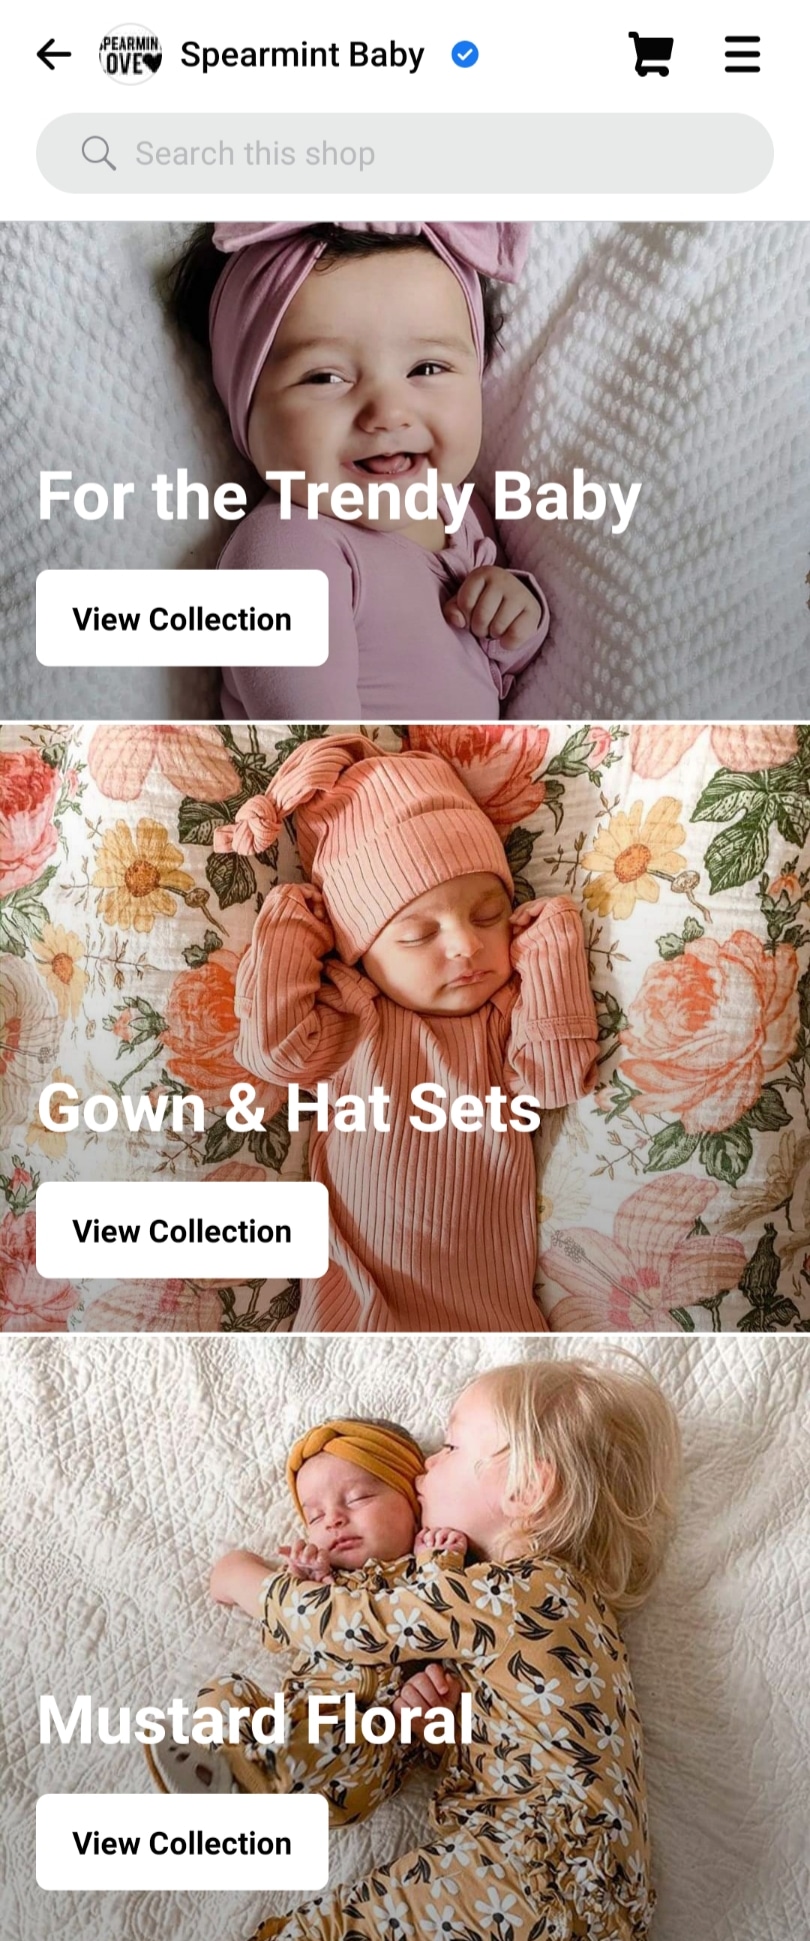
Source: Spearmint Baby
When you’re ready, click Next and start adding your products to the collection. Note that you can add between 6 to 30 products in each collection that you create.
Bonus: Download a free guide that teaches you how to turn Facebook traffic into sales in four simple steps using Hootsuite.
For each product that you add, fill in the following details:
- Name: Add your product’s name. Again, try to make it self-explanatory rather than something fancy. For instance, instead of ‘Purple Words’ write ‘Purple Lined Notebook.’
- Upload a picture of the product: Remember, a poor quality image can be a deal breaker. The best you can do? Ensure all product shots are high quality and correctly sized (minimum 600 x 600 pixels).
- Website links: If you’ve a website, add a link to the product page. But if you don’t have one, you don’t need to worry about filling in this detail since it’s optional.
You’ll also need to fill in details related to a current price, sale price if any, inventory availability, shipping, and more.
When you’ve added products to your collection and filled in the details, click Confirm and hit Publish.
Alternatively, follow this 3-step checklist to upload products via Shopify. Before you start, just make sure your Shopify account is connected to your Facebook Page.
- Click the Products tab in your Shopify store to select the products you want to add.
- Next, choose Actions. Select Make products available from the drop down menu.
- This will bring up a popup asking where you want to display your products. Select Facebook and click Make product available.
There you go! The selected products will show up in your Facebook Shop.
Want to speed up the process further? Upload collections to your store using Shopify. Just select Collections in your Shopify dashboard and repeat the steps above.
Your collection will take about 24 hours to be visible to your customers. During this time, Facebook reviews your collection to ensure it complies with its commerce policies.
Facebook shop customization
The magic of customizing your Shop – a.k.a changing your Shop’s style and layout – happens in the Shop Builder. To open it, go to the Shops tab in your Commerce Manager account.
With shop customization, you can:
- Select collections to feature on the top of your Shop. As in real stores, feature your bestsellers here so you can entice buyers to shop from you.
- Add, arrange, and remove featured product collections, products and product grids. This gives you another opportunity to attract users by playing with vibrant and eye-catching colors just as Ink Meets Paper does on their Facebook store.
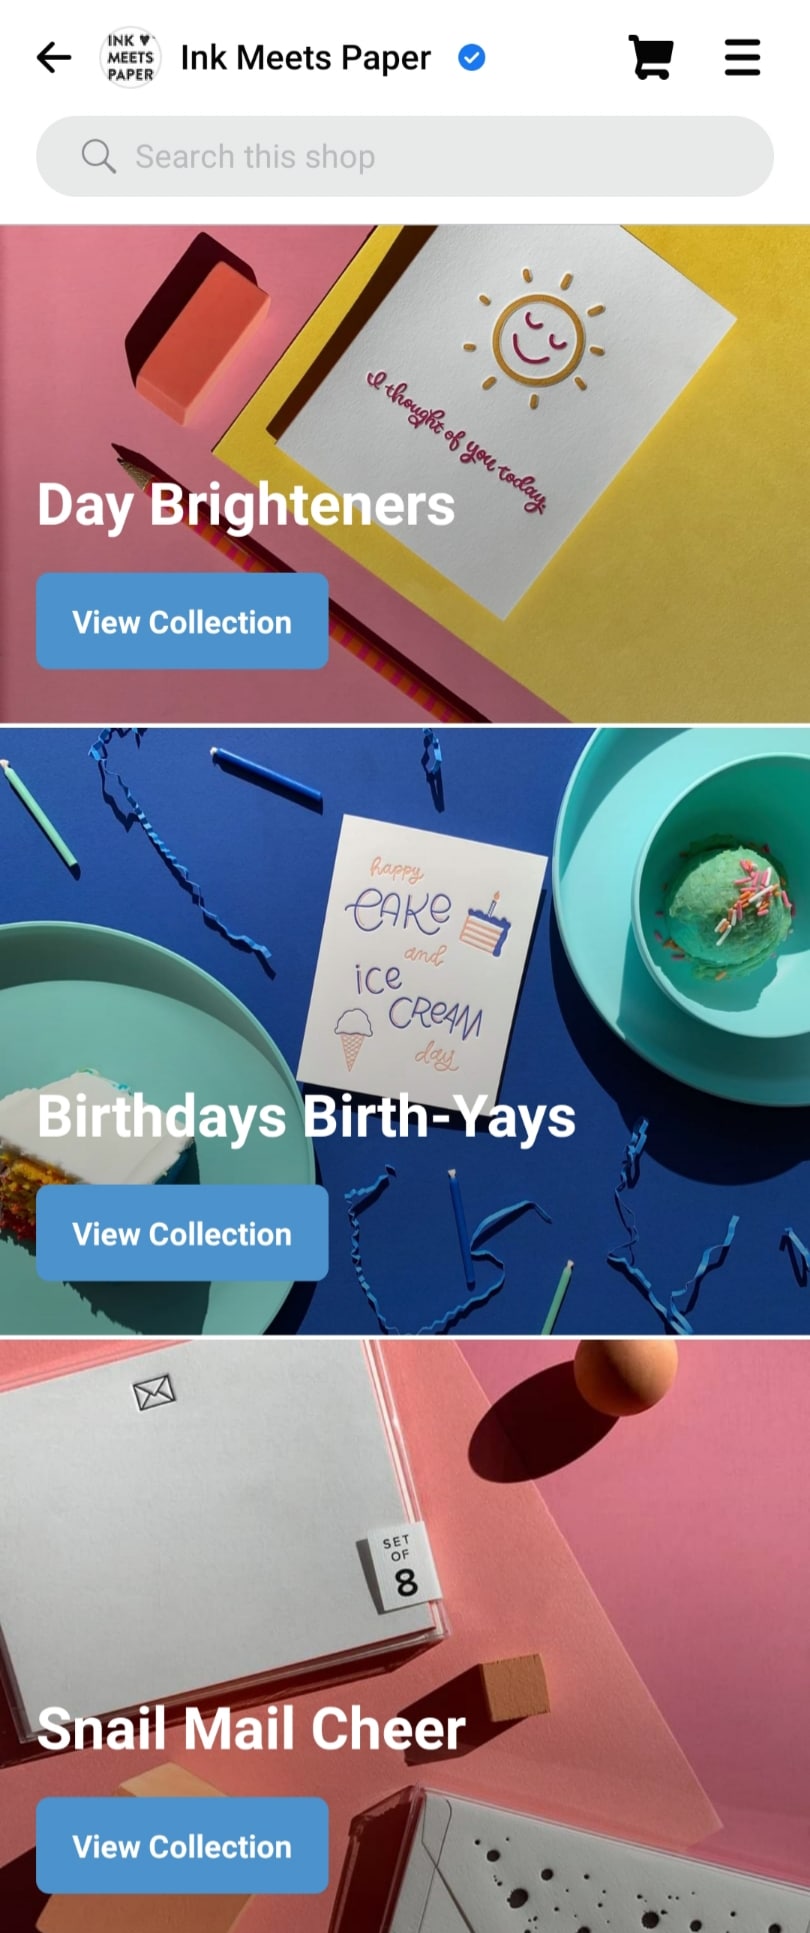
Source: Ink Meets Paper
- Change the text size and color of your Shop’s buttons and accents. We suggest you use a readable font size and color, so your viewers don’t have to strain to see what’s in store.
Ready to style your Facebook Store? Click Edit. If you’ve multiple Shops, pick the one you want to customize and click Style. Next, select any of the options you want to edit:
- Colors: Play with the color of the buttons and links in your Shop.
- Text: Change text alignment and size of all the titles.
- Buttons: Alter the shape, outline, and color of all the buttons in your Store.
You can always preview the changes you make and get a look at your work on Facebook and Instagram in light and dark mode with the Preview option. Done making the changes? Click Save.
Tip: Stick with your brand colors when customizing your Shop. This way, your store will reflect your brand personality.
With Shops offering incredible features to improve your buyers’ shopping experience, it’s worthwhile to set one up. The best part? It doesn’t cost you a dime to get started.
Use Hootsuite to manage your brand’s Facebook presence. From a single dashboard, you can schedule posts, share videos, engage your audience, and measure the impact of your efforts. Try it free today.
The post How to Sell Products with Facebook Shops: A Guide for Marketers appeared first on Social Media Marketing & Management Dashboard.


Recent Comments