Getting verified on any platform helps give your account more credibility, making your brand appear more trustworthy. So, if you’re looking to extend that to your Instagram account, you’ve come to the right place.
Throughout this article, we’ll teach you how to get verified on Instagram, why it’s so important, and any tips you need to increase your chances of verification.
Let’s get started.
Key Takeaways
- Two ways to get verified: You can either apply for traditional verification if you’re a notable public figure, brand, or business, or pay for Meta Verified.
- Authenticity matters: Instagram needs to know your account is real, whether it’s your personal profile or your business. Make sure you provide accurate documentation and a solid presence on the platform.
- Post consistently: To increase your chances of getting verified, stay active by posting regularly. A consistent content strategy shows you’re an engaged and serious user.
- No follower count requirement: There’s no minimum follower count for traditional verification, but a strong presence and high engagement can increase your chances.
What does Instagram verification mean?
Instagram verification is the process of getting a blue checkmark badge that appears next to your username on the platform. The verification badge signals to other users on the platform that an account really belongs to the user, artist, brand, or organization it represents.
If you’re looking to enhance your presence while pursuing verification, consider brainstorming unique Instagram username ideas that reflect your brand identity.
Your favorite celebrity probably has a blue checkmark on their account:

Brands with a strong social media following usually have a verified badge too:
But there are actually two types of verification: traditional and paid.
Originally, verification was only available to “notable and unique” people or brands. The process of awarding that coveted blue checkmark was shrouded in mystery, and verification was usually restricted to celebrities and big brand names.
These days, users can also pay for verification through Meta Verified. That means anyone can get a verified badge on their Instagram or Facebook accounts.
Both types of verification have the same benefits:
- Legitimacy: The verification process requires a government ID, so having a verified badge establishes your account authenticity and helps the community know it’s the real you.
- Security: Meta Verified offers proactive account monitoring to help protect your account from impersonators or hackers.
- Visibility: Verified accounts appear at or near the top of comments and search results when people type in a business name. They also appear as a recommended business to follow in the Feed.
Verified accounts even have access to features such as exclusive stickers on Instagram Stories and Reels to help their content stand out.
No matter which method an account used to get verified, the blue checkmark looks the same. That means it’s impossible to know whether it was awarded to a user through traditional means or if they’re paying for the Meta Verified service.
Who can get verified on Instagram?
Anyone can request a verified badge on Instagram. Though the requirements are slightly different for each type of verification.
Traditional verification requirements
If you want to go through the traditional verification process for your Instagram profile, you can apply for the blue badge if you’re a notable public figure, celebrity, or brand — and you meet the eligibility criteria.
Instagram’s criteria is a bit vague, but here’s what we do know.
In addition to following Instagram’s Terms of Use and Community Guidelines, your account also needs to be:
- Authentic: It must represent a real person, registered business, or entity.
- Unique: Only one account per person or business may be verified, with exceptions for language-specific accounts. Instagram generally doesn’t verify general interest accounts.
- Complete: Your account must be public and complete. That means you must have a bio, profile photo, and active account when applying.
- Notable: Your account must represent a well-known, highly searched-for person, brand, or entity.
What counts as “notable” to one person may not be notable to another, which is why verification used to be out of reach for most Instagram users.
But don’t despair. There’s now another option: Subscribing to Meta Verified.
Meta Verified requirements
Getting a blue tick through Meta Verification is much more simple.
Here’s what you need to subscribe:
- Be at least 18 years old
- Be located in a country that offers Meta Verified
- Have a public or private profile that’s associated with your full name, aligns with naming standards, and has a profile picture that includes your face
- Meet minimum activity requirements, such as prior posting history
- A government-issued ID or driver’s license
- Two-factor authentication enabled on your profile
- Follow Instagram’s Terms of Use and Community Guidelines
If you’re relatively confident you meet the eligibility requirements for traditional verification, or you’re ready to splurge on paid Meta Verification, read on.
How to get verified on Instagram in 5 steps
Want to try for traditional verification? Follow these five steps to request verification for your business account. Keep in mind you can only request traditional verification using the mobile app, not the desktop version.
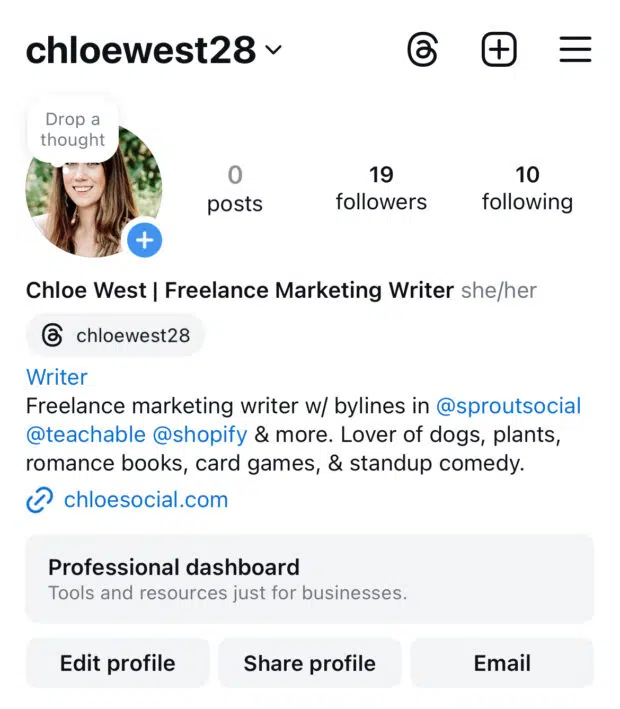
Step 1: Go to your Instagram profile
First things first, open your Instagram app and make sure you’re logged into the account you want to verify. Then, tap your profile photo in the bottom right corner of the app to head to your Instagram profile.
Step 2: Tap the hamburger menu icon
From there, tap the hamburger menu icon (three parallel lines) in the top right corner of your profile.
This takes you to all of your Instagram settings.
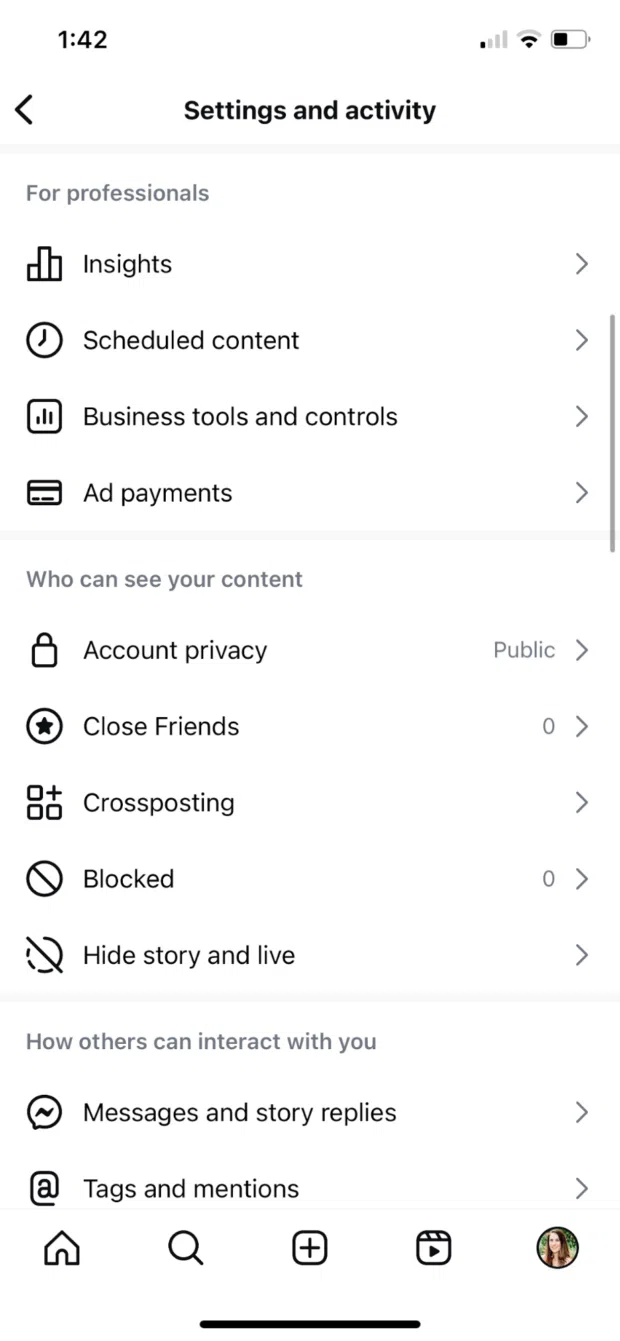
Step 3: Tap Business tools and controls
Scroll down in the settings until you see the For professionals section. Then tap Business tools and controls.
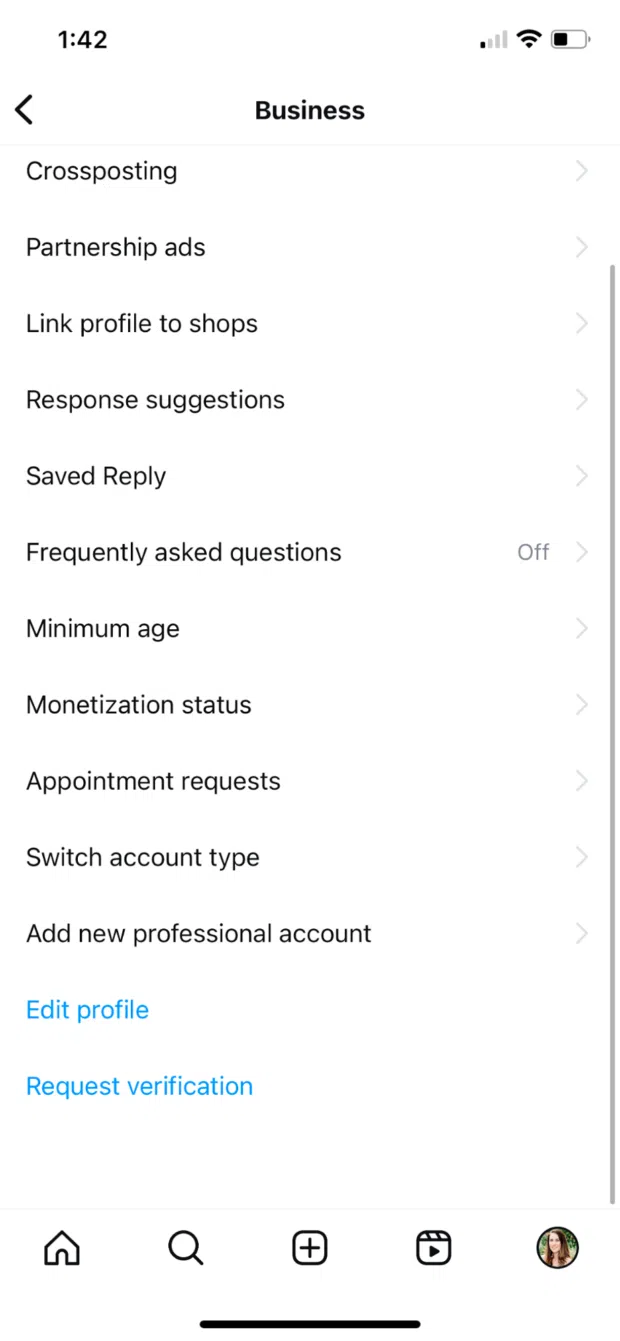
Step 4: Tap Request verification
Scroll to the bottom of this section to find the blue Request verification link and tap it.
Step 5: Fill out the form
Next, you’ll have to fill out the available form to request verification for your professional account.
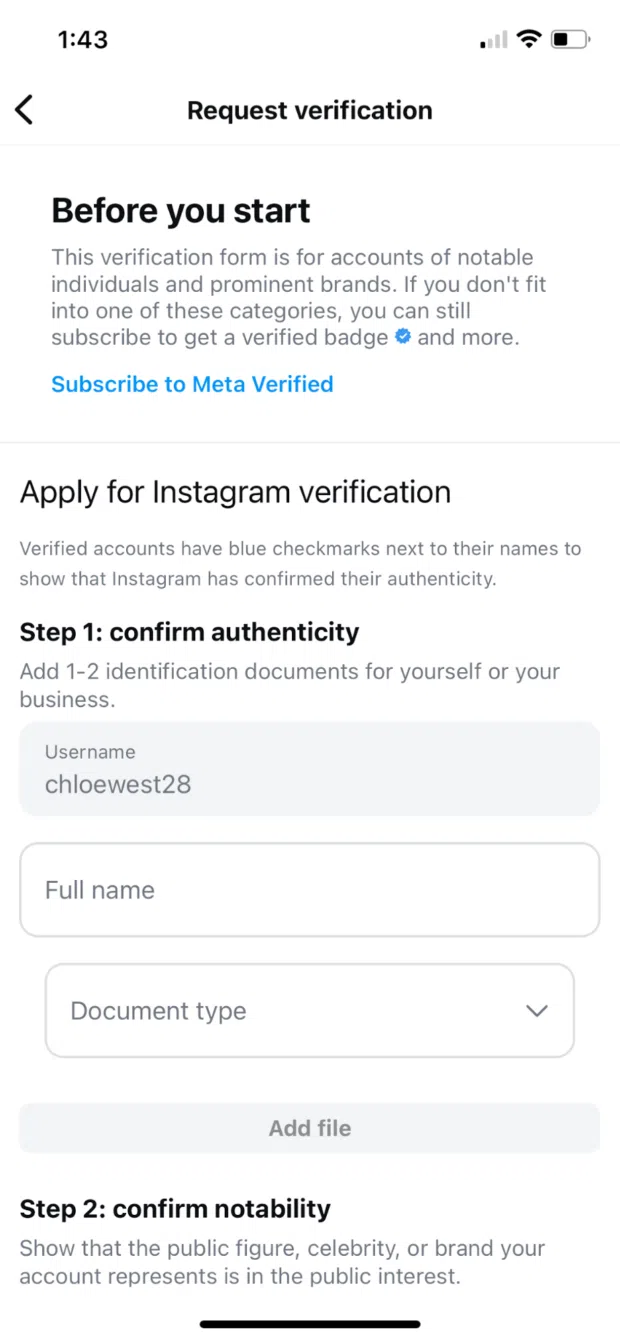
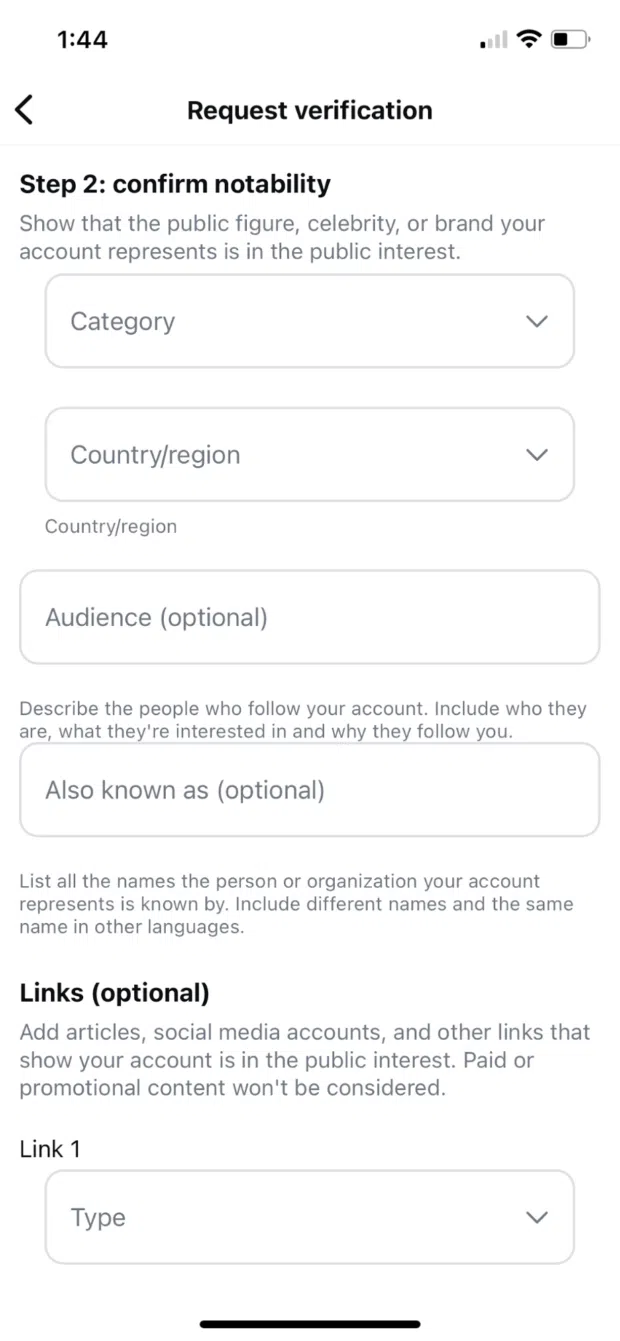
You’ll have to confirm both authenticity and notability with documentation. The information you’ll need to provide include:
- 1-2 identification documents for your business, like a driver’s license, passport, ID card, tax filing, utility bill, or articles of incorporation.
- The category and country of your notability, as well as any names that you or your business is known by.
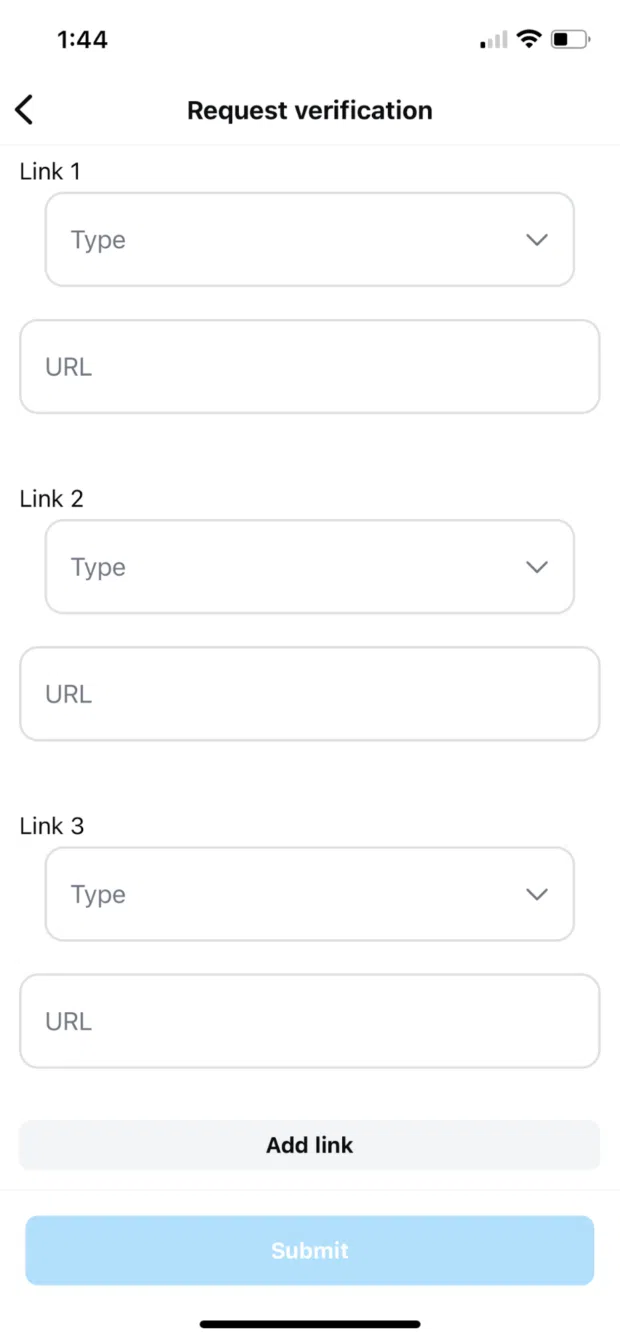
- Additional social media accounts that showcase your notability.
While many of the form fields are listed as “optional,” we recommend filling out as much as you can to increase your chances of receiving verification.
Once you’ve completed the form, tap the Submit button at the bottom.
After submitting, keep the following in mind:
- Just because you request verification doesn’t mean the platform will grant it.
- Submitting a verification request multiple times before getting a decision will cancel your application.
- Getting verified on instagram doesn’t mean your Facebook Page will also receive verification — you’ll have to submit a request on both platforms.
- Once verified, you cannot change your Instagram username, so make sure you’re happy with the name you’ve chosen.
- If you’ve received verification using false or misleading information, Instagram reserves the right to take action, like removing your verified badge and/or disabling your account.
How to get verified on Instagram with Meta Verified
If you haven’t been able to get verified the traditional way or you don’t qualify, you might instead choose to go the Meta Verified route. With Meta Verified, you can pay $14.99/month to get the Instagram verification badge along with the other benefits that come with having a verified account.
Step 1: Follow steps 1-4 of the previous step-by-step
If you have a business or creator account, you’ll need to take the same first four steps as before:
- Go to your Instagram profile
- Tap the hamburger menu icon
- Tap Business tools and controls
- Tap Request verification
However, you won’t fill out the available form.
Step 2: Tap Subscribe to Meta Verified
At the top of the verification request form, you’ll see a Before you start header that prompts users to sign up for Meta Verified if they aren’t a notable individual or prominent brand. Tap this to get started.
Step 3: Sign up for Meta Verified
Some accounts may have a prompt to join the waitlist before they can sign up. This may be the case for users in countries where the feature isn’t yet available, but many users say they’ve had to wait for a few weeks in the waitlist, even in applicable countries before getting access.
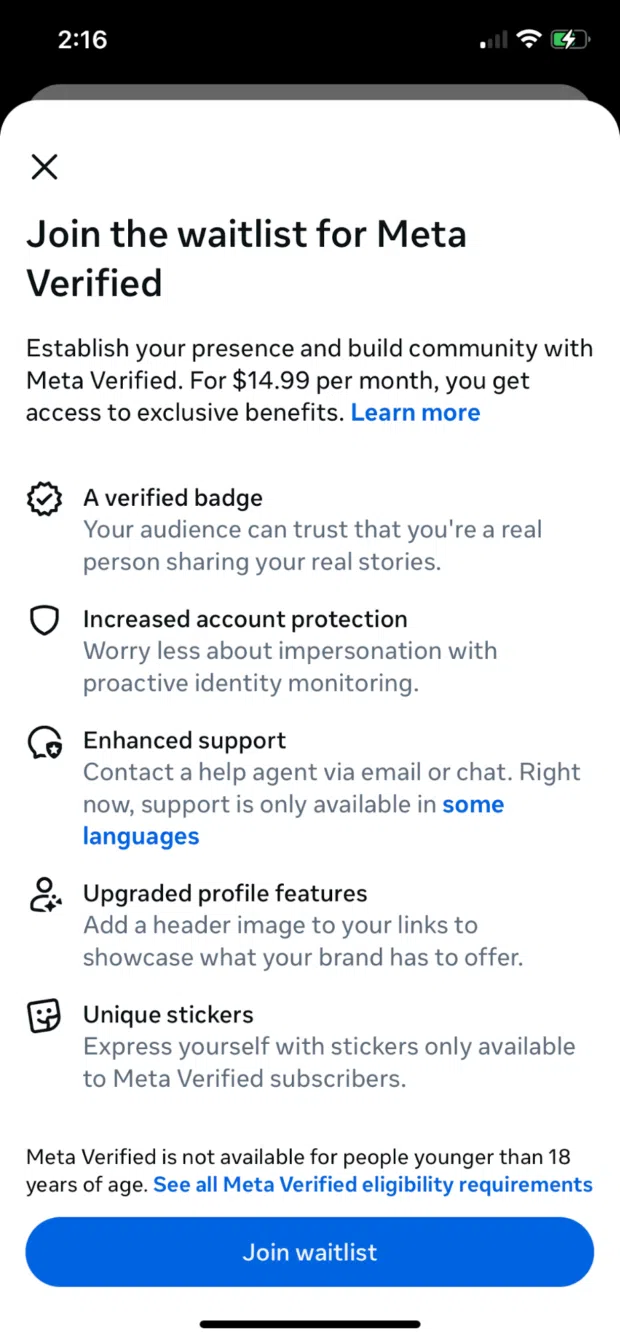
Otherwise, you’ll immediately be hit with a prompt to Unlock benefits.
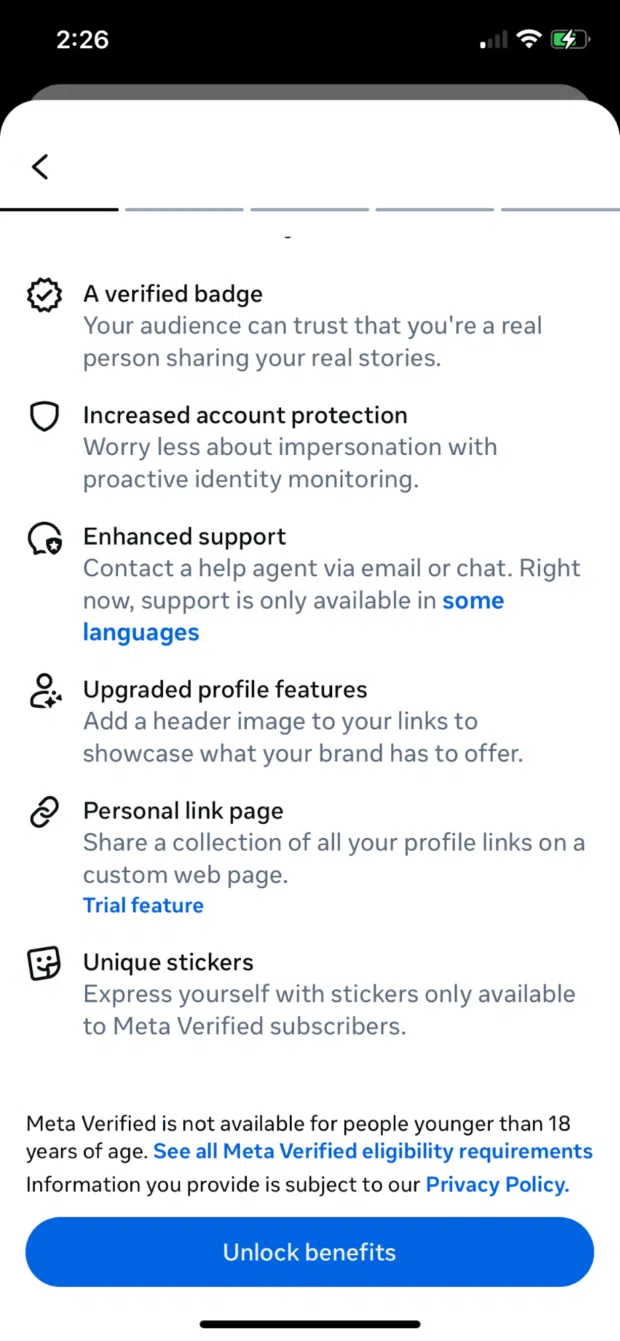
Tap the button to move onto the next page. Here, you’ll see the price in your area along with some of the perks you’ll get access to.
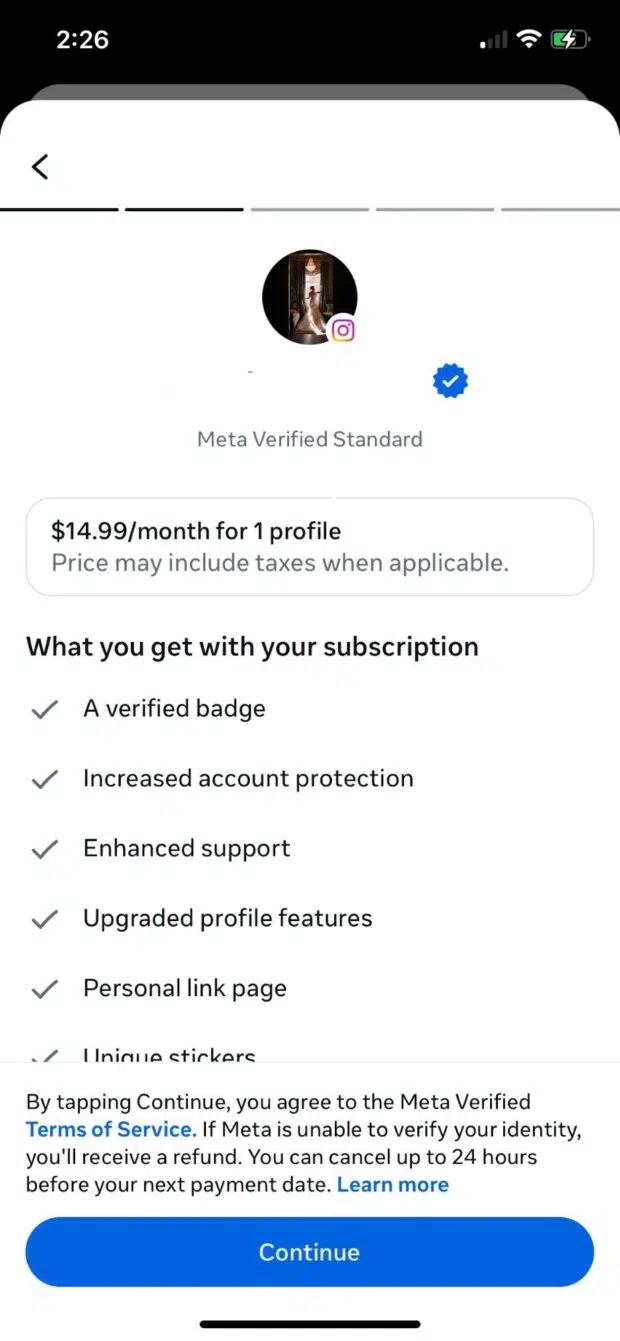
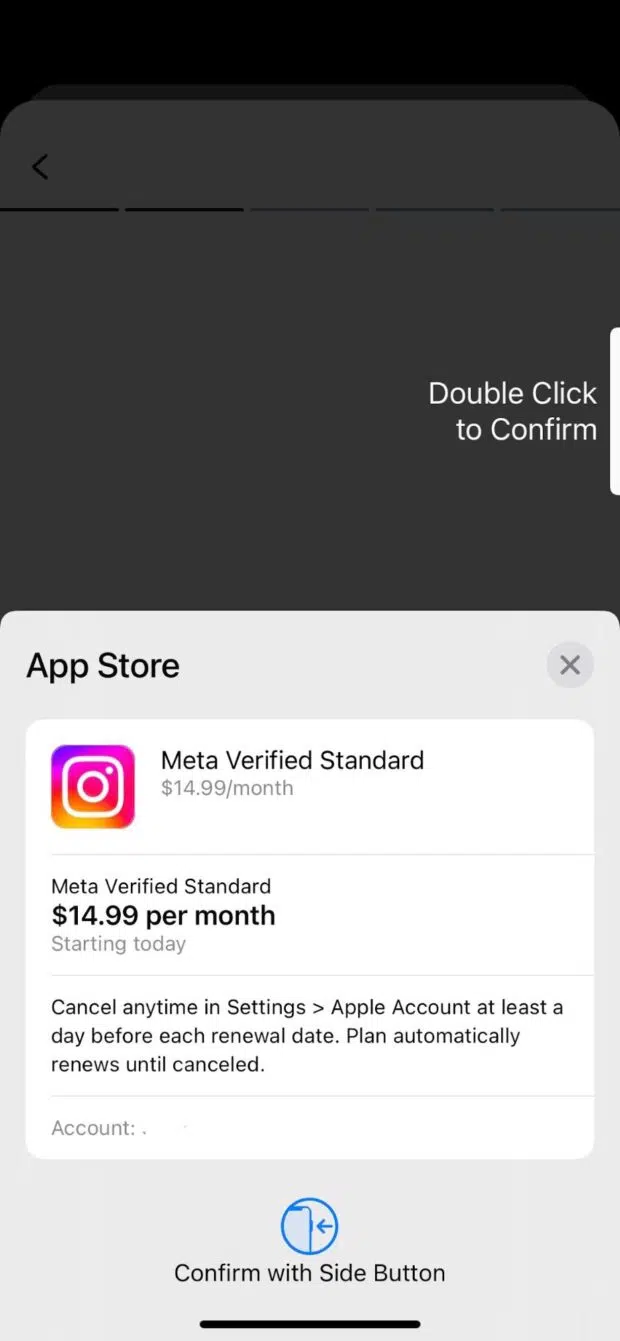
Tap Continue to move on. If you’re on iPhone, you’ll be prompted to confirm your subscription.
You can also sign up on the Android app or the desktop version. With Meta Verified, both your Instagram and linked Facebook Page or account will be verified through the same subscription.
4 tips to earn a blue check on Instagram
Ready to earn that blue check? Keep these tips in mind to increase your chances of receiving traditional verification.
1. Be authentic
While authenticity (being a legitimate person or business) is a prerequisite for verification, that’s not exactly what we mean here. We mean that you should showcase who you really are as a legitimate person or business.
Share your life, or go behind-the-scenes of how your business works. Be real with your audience so the platform can easily see that you are who you say you are.
2. Post consistently
Instagram wants to reward active accounts, so make sure you’ve got a consistent posting schedule.
More than that, though, make sure that you’re posting consistently often. Sharing a new post once per week may not be enough. Try being active on the platform each day.
#1 for Instagram marketing
Schedule posts, Reels, and Stories. Answer comments and DMs, and build beautiful reports. It’s so easy.
3. Leverage collaborations
According to Instagram growth strategist Sarah Campbell, you’ll want to leverage Instagram collaborations this year. Not only can this improve your growth on the platform overall, but it can help your chances of getting verified.
By partnering with other credible and notable accounts, you’re further solidifying your position. Sarah shares that collaborations can lead to shared audiences, boosting your Instagram follower count, but that they also boost credibility.
4. Optimize your Instagram profile
There are so many areas to fill out in your Instagram profile that can provide even more context behind who you are. Optimize your profile and bio to create further trust and credibility.
To do this:
- Upload a high-quality profile photo (or logo if you’re a business)
- Use your real name or business name as your username
- Fill out your bio with exactly who you are and what you do
- Input your location (or the location of your flagship store/headquarters)
- If a business account, choose the appropriate business category
- Add a CTA button to help people get in touch with you
- Create Story Highlights that live on your profile
Creating an optimized account makes people more likely to follow you, giving Instagram even more reason to verify you.
3 benefits to get verified on Instagram
There are three main benefits to getting verification on any social media platform. Let’s walk through each one.
1. Increased trust
Having that verification badge helps people trust you more. They know that you are who you say you are, meaning they’re more likely to follow you, interact with you, and work with you.
2. Protect against impersonators
There are many fake accounts out there for various reasons, like scams or parodies. Having that verification sets your account apart from potential impersonators, offering an additional level of security for both you and your followers.
3. Improve performance
Getting verified can increase the chances that people will want to follow or work with your account. So you can see a boost in followers, an increase in website clicks, as well as more sales and conversions through your Instagram account.
Instagram verification FAQs
How many followers do you need to get verified on Instagram?
There’s no minimum follower count you need to hit to be eligible for verification. However, traditional verification methods are set aside for notable accounts, so it’s likely that you’ll want to grow your followers before you immediately request verification.
How much does it cost to get verified on Instagram?
Traditional verification is free. However, accounts that don’t qualify for verification can still sign up for Meta Verified, a paid verification service that costs $14.99/month.
How long does it take to get verified on Instagram?
Instagram typically notifies verification applicants within 30 days of their decision.
What happens if my Instagram verification request is denied?
If your Instagram verification request is denied, you can apply again. Try using different documentation this time around. Or, you can choose to sign up for Meta Verified instead.
How can I increase my chances of getting verified on Instagram?
Be a real human or business, showcase authenticity, post consistently, and optimize your Instagram profile to improve your chances of getting verified.
Can I apply for verification multiple times?
Yes, you can apply for verification multiple times. However, you’ll need to wait until you hear a decision before applying again, or your application can be cancelled.
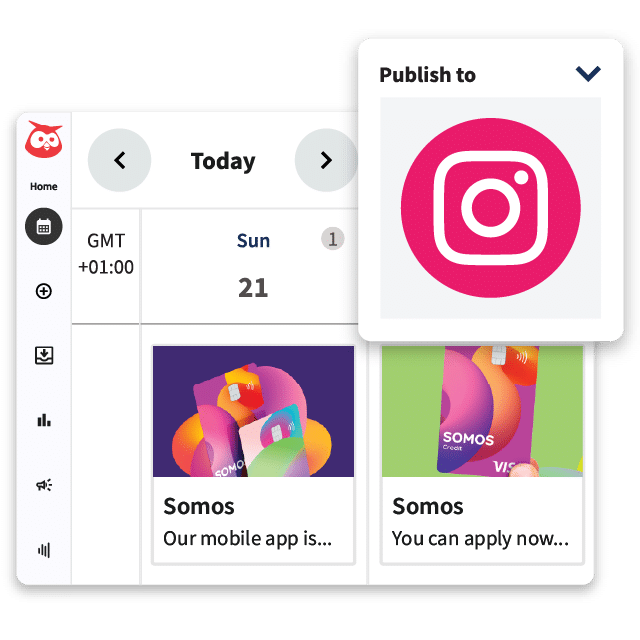
Manage your Instagram presence alongside your other social channels and save time using Hootsuite. From a single dashboard you can schedule and publish posts, engage the audience, and measure performance. Try it free today.
The post How to get verified on Instagram in 2025 appeared first on Social Media Marketing & Management Dashboard.


This is a really insightful breakdown of the verification process on Instagram! It’s interesting how the idea of credibility has evolved in the social media landscape. I remember when verification was just about follower counts, but now it feels much more about authenticity and engagement.